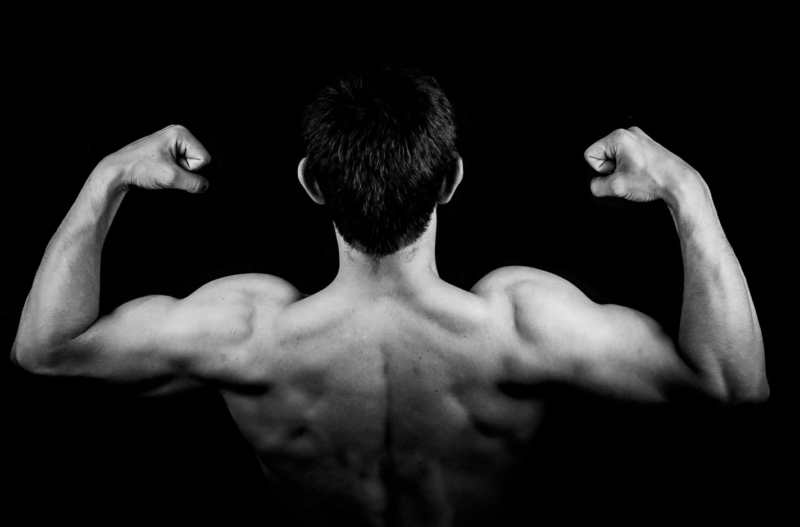
Starting a workout routine is always the most daunting and difficult part for anyone starting with their fitness journey. For beginners, it’s important to learn about the different muscle groups and the different workouts that strengthen them. Familiarizing yourself with your chest, back, arm and shoulder, abs, and leg and butt muscles are essential not only to give you an idea about these muscle groups but also to keep yourself from getting injured.
In this article, we will focus on arm and shoulder workouts that are perfect for beginners. Keep scrolling and enjoy your workout!
Bicep Curls
The bicep curl is a quintessential weightlifting exercise that targets your biceps. Depending on the kind of bicep curl you are doing, it can either target your bicep’s short head, long head, or both. This exercise can be performed using barbells or dumbbells. Although pretty basic, bicep curls, as you progress, can be performed through different variations that can make it more difficult and, in return, be more rewarding.
How to do it:
- Stand up straight with dumbbells in each hand
- Make sure to keep your arms straight and your palms are facing outward
- Keep your shoulders and your upper arms steady as you engage your forearms and lift the dumbbells to your shoulders
- Hold this position for a second or two and then slowly lower your arms back to starting position
Lateral Raises
One of the classic arm and shoulder exercises, the lateral raise is often included in almost every upper-body strength training program for beginners. The lateral raise specifically targets your deltoid muscles. Lateral raises can also be performed in different angles depending on which of the smaller shoulder muscles you are trying to isolate.
How to do it:
- Start with keeping your back straight while holding a dumbbell in each hand, make sure your palms are facing inward
- Slowly lift the dumbbells out to the side while keeping your core engaged – stop when arms are shoulder height
- Hold this position for at least a second or two and slowly lower your arms back to starting position
Tricep Dips
There’s just no excuse not to do tricep dips as you can practically do it anywhere. More people focus on having massive biceps but the real challenge lies in training your triceps. Your triceps are located in the back of your upper arm and are primarily responsible for the extension of your elbow joint. The best thing about tricep dips? It doesn’t need any type of equipment. You use your body weight when doing tricep dips. All you need is some sort of raised platform and you’re good to go!
How to do it:
- Place your hands on a bench or a chair, make sure the platform you’ll use is stable and secure
- Next, slide your butt off the front of the platform you’re using with your legs extended out in front of you
- Keep your elbows a little bent in order to feel the tension on your triceps rather than on your elbows
- Slowly dip your body toward the floor until your elbows are at a 90-degree angle
- Slowly push yourself back up to start position and repeat
Push-Ups
Contrary to popular belief, push-ups don’t just give you toned pecs. It also works out your upper arms, your shoulders, and engages your core. Like tricep dips, the best thing about push-ups is that you can do it from just about anywhere. All you need is your bodyweight and a little bit of discipline. If you’re finding it difficult to do push-ups, don’t worry! Even gym buffs dread push-ups sometimes. Take it slow and work on your form first and the rest will follow!
How to do it:
- Assume a high plank as your starting position – keep your palms flat on the mat with your feet together
- While ensuring that your back is flat, slowly lower your body toward the floor by bending your elbows to a 90-degree angle
- Hold this position for at least a second or two before pushing yourself back up to starting position
- Make sure to do it slow and steady first so that you can master the proper form
Bent-Over Dumbbell Row
Bent-over rows can be done using dumbbells, barbells, or even bands. Although popularly known as a back exercise, bent-over rows also work most of your upper body with an emphasis on your upper and middle back. So why did we include this exercise on an arm exercise compilation? Simple, a stronger upper back means a stronger upper body. And a stronger upper body allows you to improve your arms and shoulders further. Depending on what you’re trying to achieve, bent-over rows can help you build strength and aid you in weight-loss.
How to do it (with dumbbells):
- With a dumbbell in each hand, lean forward at about a 45-degree angle and bend both knees
- While keeping your back flat, slowly lift the weights straight up until your arms are parallel with your shoulders
- Hold this position for at least a second or two before slowly lowering the weights back to starting position
If you want to do bent-over rows with an emphasis on your arms, modify the bent-over dumbbell row to add tricep extensions (also known as tricep kickbacks):
- With a dumbbell in each hand, lean forward at about a 45-degree angle and bend both knees
- While keeping your back flat, slowly lift the weights straight up until your arms are parallel with your shoulders
- Hold this position for a second and then slowly push your arms out as if you’re skiing
- Hold this position for a second before bending your arms back towards your body and lowering them back to starting position
Pro tip: Start with weights that are comfortable for you – talk to an instructor from your gym or consult an expert to determine your ideal load. The rule of thumb is, if you can’t perform the exercise with decent form, you’re probably lifting a weight that’s too heavy for you. If so, go lower. Ego has no place in the gym!
Safety above all else!
Deciding that you want to be healthier is no easy feat. Accepting the fact that there’s work to do is, in itself, the start of your fitness journey. Begin this journey with one thing in mind: safety! How will you achieve the body you’ve always wanted when you’re injured? Start your workout with warm-ups, low-intensity exercises, and lift with weights that are right for you. Pay attention to your form as you perform the exercises we listed above. Proper form can help you achieve better results and also keep you from getting an injury.
Always remember, you’re doing this for YOU and not for anyone else!
Until next time!

